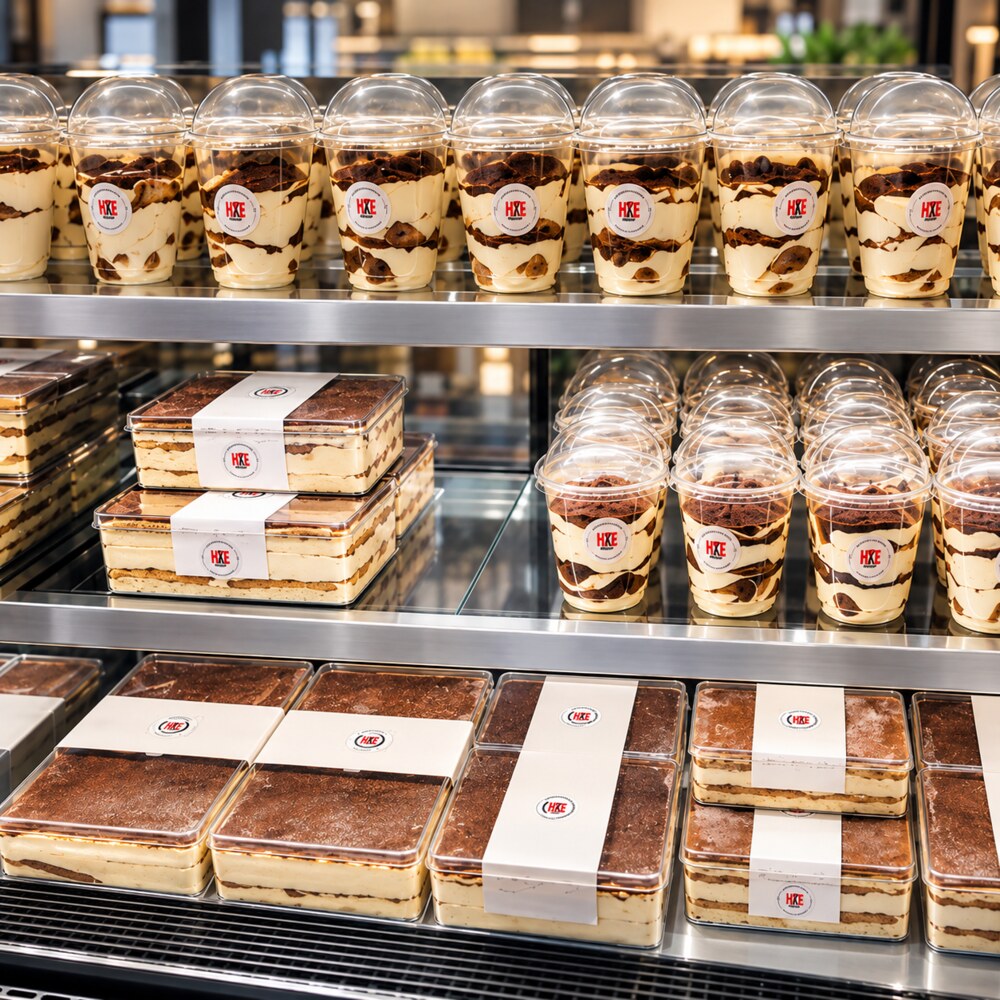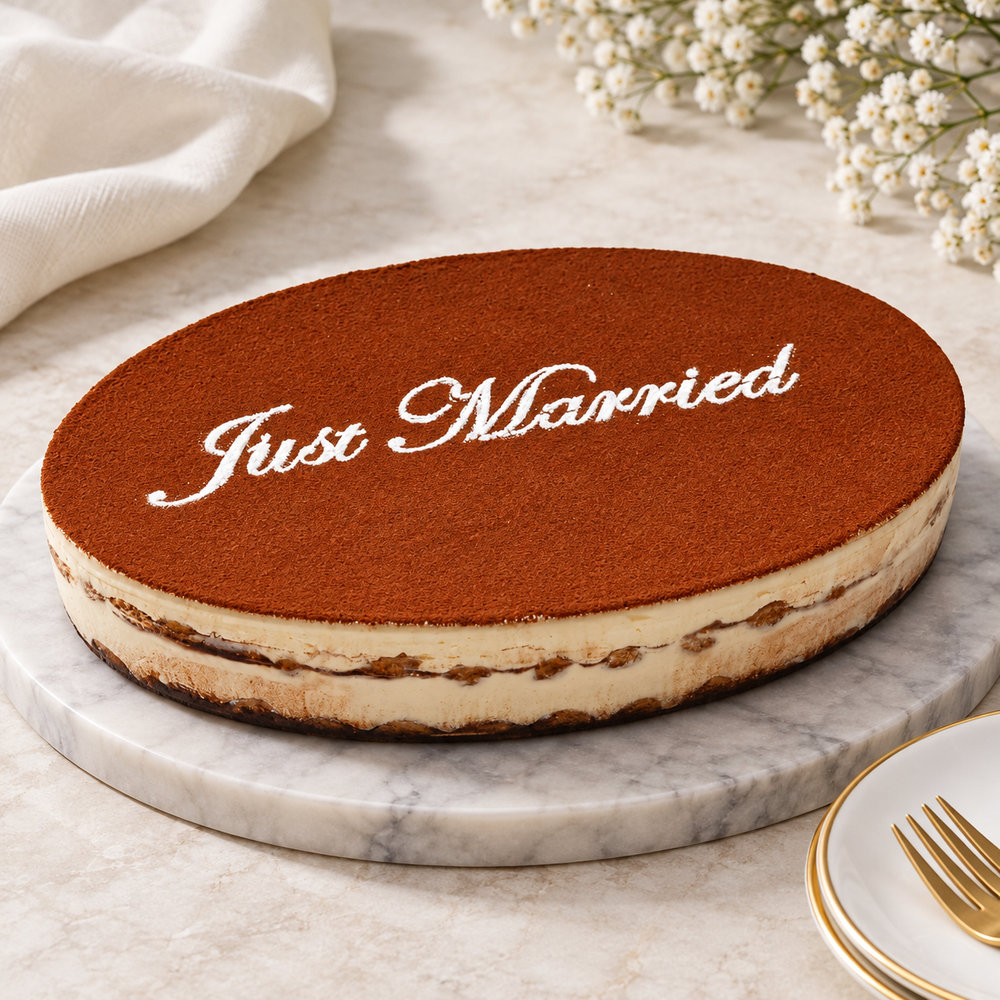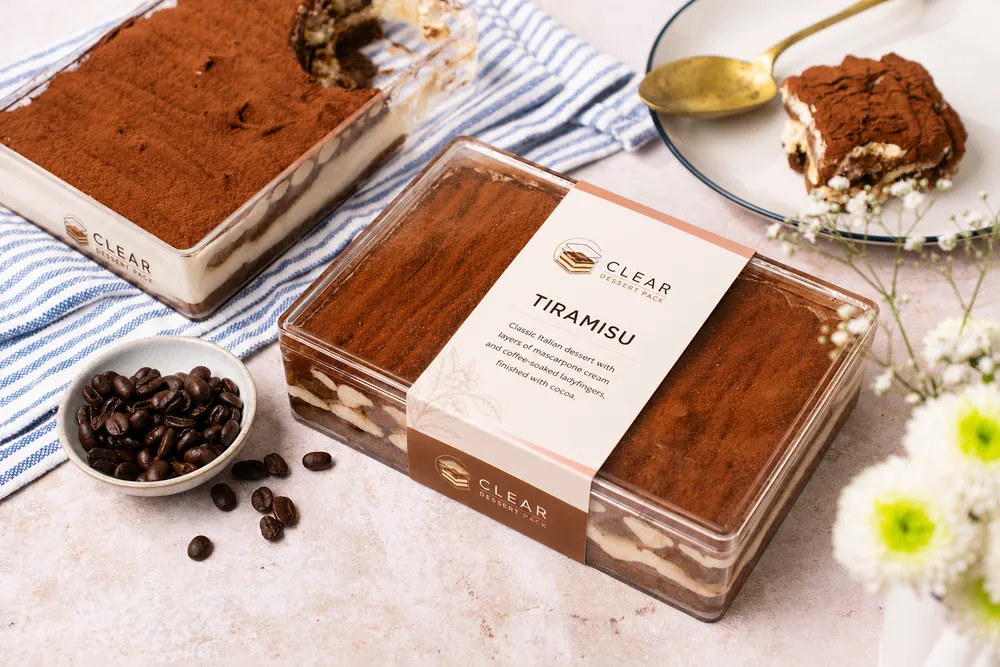
Paper sleeves and logo labels offer two ways to brand tiramisu packaging. Start with the box you will use, the information you need to display and the part of the dessert you want customers to see.
Compare fit, print space and packing time with actual samples. Ask for costs and minimum quantities for each artwork version before choosing an option.
1. Sleeves vs. stickers
Compare sleeves and stickers against the same box, artwork requirements and order quantity. Neither option has a universal cost or volume advantage:
| Packaging Metric | Custom Paper Sleeves Sleeve | Logo Stickers Sticker |
|---|---|---|
| Upfront Setup Cost | Confirm artwork, cutting, printing and any tooling charges for the selected design. | Confirm artwork, cutting, printing and finishing charges for the selected design. |
| Unit price and MOQ | Request a quote by paper, dimensions, print finish and quantity; confirm the MOQ separately. | Request a quote by label dimensions, substrate, adhesive, finish and quantity; confirm the MOQ separately. |
| Design Real Estate | Plan the printable panels, folds, seam and visible product area on the approved dieline. | Choose the label shape and placement to fit the available surface and required information. |
| Application Speed | Time sleeve assembly and placement in your own packing workflow. | Time label positioning and application in the same packing workflow. |
| Tamper-Evident Ability | A decorative sleeve does not establish tamper evidence; confirm any intended seal design and test it. | A logo label does not establish tamper evidence; confirm the seal construction and evaluate opening behaviour. |
| Material Options | Confirm paper grade, thickness, finish and performance under the intended handling conditions. | Confirm substrate, adhesive and finish; request evidence for any moisture-resistance requirement. |
| Order planning | Compare quantity per artwork version, repeat orders, storage space and confirmed MOQ. | Compare quantity per artwork version, application method, repeat orders and confirmed MOQ. |
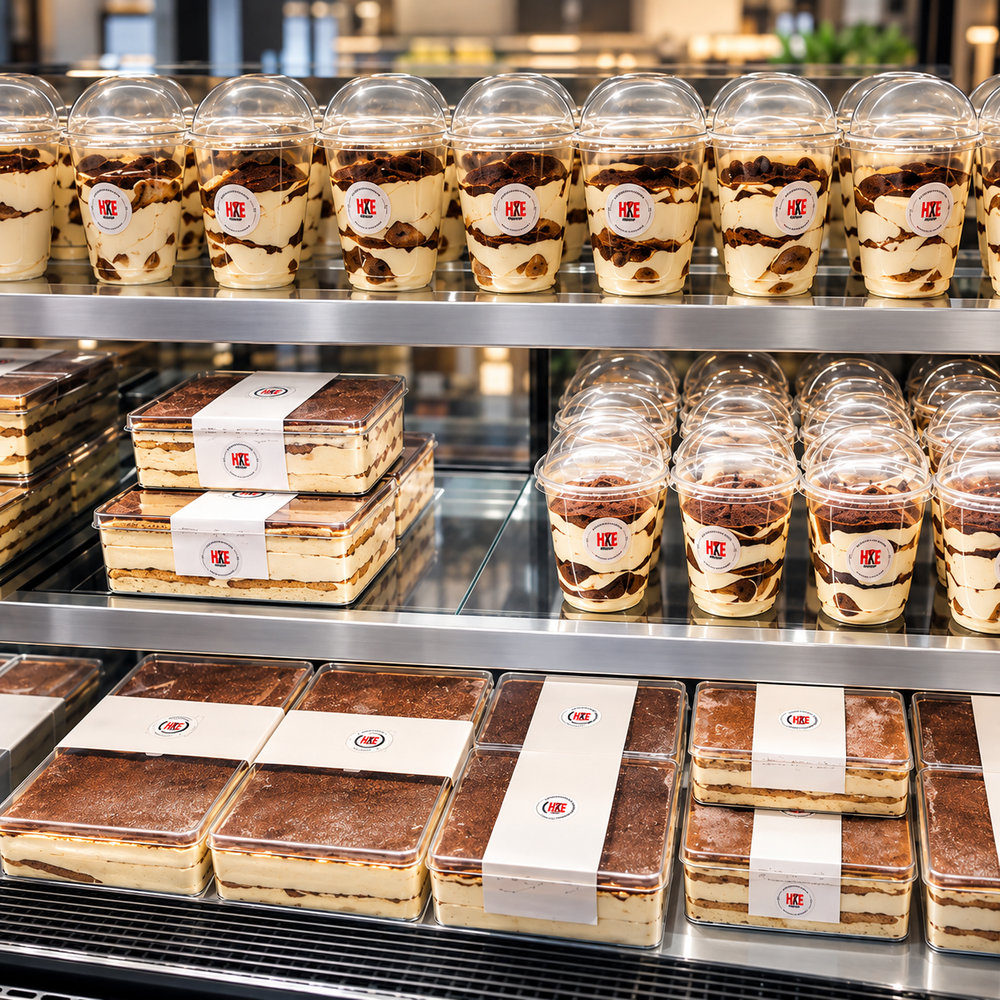
2. Getting the fit right
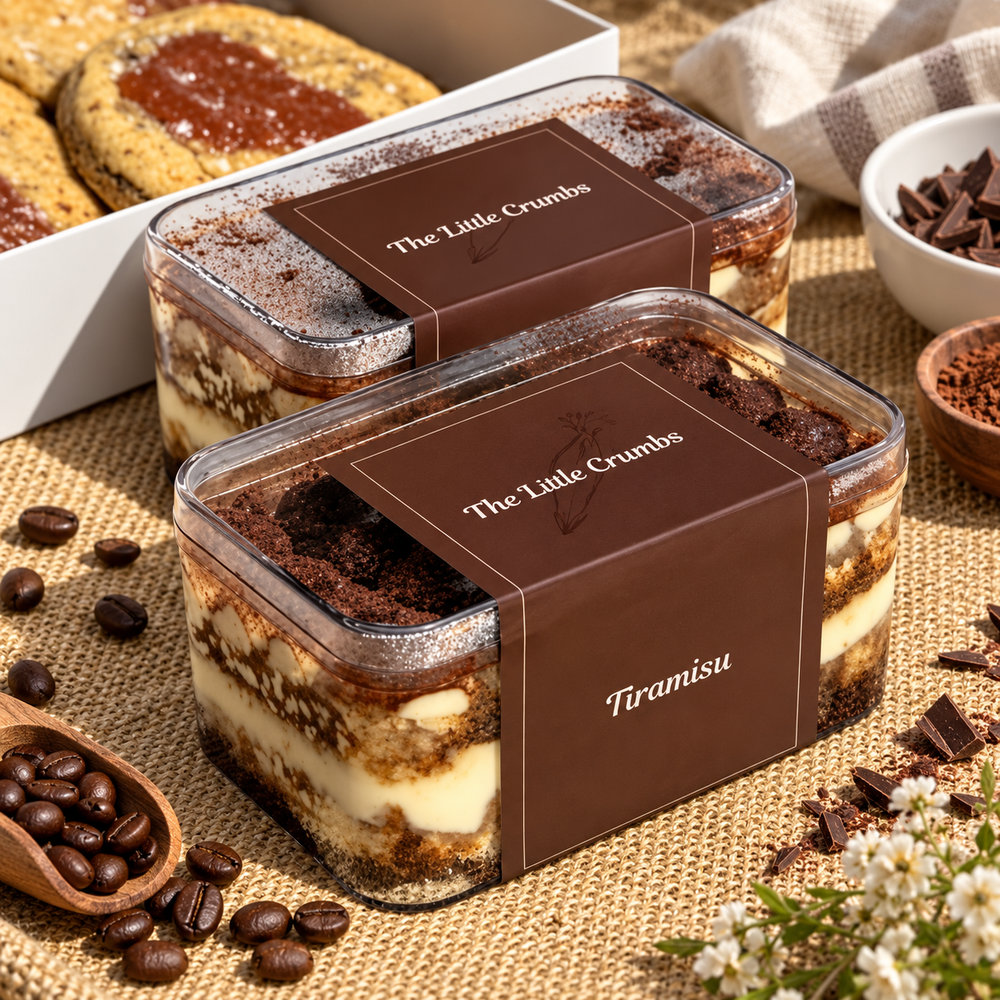
Sleeve retention depends on the assembled box profile, sleeve material, fold positions and handling conditions. Check the chosen sample for slipping, interference with the lid and excessive pressure on the box.
Include these three points in the sample review:
- Retention method: Ask whether a closure or adhesive is needed. Confirm its placement, suitability and removal behaviour for the selected package.
- Paper and finish: Compare samples for appearance, retention and performance in the intended storage and handling conditions.
- Crease positions: Confirm the dieline, material thickness and fold positions using the assembled box and lid. Agree tolerances for the actual design.
Check labels on the actual box
Apply the proposed label to the selected box surface. Review its position with the lid closed and confirm that the dessert remains visible. Check for lifted edges, wrinkles or print changes under your intended storage and handling conditions. Record the label material, adhesive and finish with the approved artwork.
Read the artwork at its final print size. Check small text and scan any barcode or QR code on the assembled pack. Confirm the box model before approving print files; a change of lid or size can affect label placement and sleeve fit.
Use the packaging sample checklist to review the complete box, lid and branding together.
3. Measuring a sleeve
When ordering flat paper sleeves from a factory, never guess the dimensions. A paper sleeve must fit the assembled box and lid without obstructing closure or distorting the package.
For an initial estimate around a rectangular box cross-section, use the expression below. It simplifies the shape and is not a production dieline; taper, lid projections, corners, folds, paper thickness and closure design require sample verification:
Where:
- Widthbox: The exact outer width of the box at its widest lip.
- Heightbox: The exact outer height of the box, including the lid.
- Overlap: The join area for the selected closure design. Confirm its length and construction with the supplier; there is no single value established here for all orders.
- Clearance (Crease Allowance): An allowance to be determined for the actual material, folds and fit. Confirm it through the dieline and assembled sample rather than applying a fixed allowance to every box.
Hypothetical calculation — not a product specification
For illustration only, assume 15.5cm width, 6.5cm height, an overlap of 2.5cm and an allowance of 0.2cm. These inputs are hypothetical and are not an approved Clear Dessert Pack model or production allowance:
Lsleeve = 2 × (15.5 + 6.5) + 2.5 + 0.2 = 46.7 cm
The arithmetic gives an initial estimate of 46.7cm for these assumed inputs. Do not order from this example. Confirm the final sleeve length, band width, fold positions and closure using the approved dieline and an assembled sample.
Tiramisu Box Belly Band: Fold Lines & Artwork Checklist
A designer needs the positions of the folds, not just the total length of the band. Start with the exact box and matching lid assembled together. Capacity alone does not identify the outside profile, and a template for another box should not be treated as a production-ready match.
First, agree which direction the band wraps around the box and where the join will sit. A band wrapping across the short side follows a different path from one wrapping along the long side. Mark the intended front-facing panel on a photo or sample so the designer and packaging supplier use the same orientation.
| Confirm before artwork | Include in the designer handoff |
|---|---|
| Box and lid | SKU, matching lid, assembled sample or drawing, and the external profile along the chosen wrap direction. |
| Panel and fold positions | Each panel length in sequence, the intended fold or score lines, and a clearly marked measurement starting point. |
| Band and closure | Band width, proposed seam location, overlap or closure area, and the paper grade and thickness for review. |
| Artwork placement | Front panel, text direction, barcode or QR location, and printer-confirmed bleed and safe areas. Distinguish cutting lines from fold lines. |
| Approval record | Dieline revision, artwork version, proof approval and the agreed assembled-sample checks. |
If a dieline is not yet available, provide an annotated sketch with the corner-to-corner measurements along the actual wrapping path. This supports a template review; a perimeter measurement alone cannot establish every fold position. Do not divide the overall length into equal panels or apply one fixed overlap and allowance to every box.
Before printing, check an assembled sample for lid closure, band retention, seam placement and artwork orientation. Any change to the box, lid, paper or closure should trigger a fit review. Keep the approved drawing and artwork version together for repeat orders.
Send your box SKU, matching lid, preferred band direction, artwork and order quantity so we can review the sleeve fit and template requirements. You can also compare available branding options before preparing the brief.

4. Choosing your approach
Choose according to the information to display, assembly process and quotation for your actual quantities:
When a compact label suits the brief
Option: Existing Box + Logo Sticker
Consider a label when the required information fits the chosen surface and you want to keep much of the dessert visible. Confirm label placement, adhesive compatibility, quantity per design and application method with a sample.
When several printed panels suit the brief
Option: Existing Box + Printed Paper Sleeve
Consider a sleeve when the design needs several panels for branding and product information. Confirm legibility, folds, seam placement, lid access and assembly time. Request a quotation for the actual material and quantity before choosing.
5. Prepare a tiramisu branding quotation brief
Use the same brief when comparing a sleeve and a sticker. Choose the box model and matching lid first, then review the available branding services and scope.
- Container: model, matching lid, assembled sample or drawing, finished dessert dimensions and intended handling conditions.
- Accessory: sleeve, label, bag or ribbon; placement, dimensions, material and finish requirements; quantity for each design.
- Artwork: logo file, text, colours, barcode or QR code, and the approved dieline revision. AI, PDF or SVG is preferred; other files need review.
- Order: initial quantity, expected repeat quantities, destination country and postcode, packing preferences and requested delivery date.
- Approval: confirm proof and sample requirements, any artwork or tooling charges, MOQ, production timing and the final approved version in writing.
Ask for the container, lid, branding accessories, setup costs and delivery scope to be identified separately. A design concept is not a completed customer project or evidence of an approved production sample.
Send your packaging brief or review the wholesale enquiry checklist.